How to Give an Old Lamp Shade new Life
You know by now, I’m a big fan of lights. You’ve heard me say time and time again, your lights are like the jewelry of your room. Also, on my blog series about lights it’s time to talk about lamps! Yay! Lamps are sooooo fun.
First up, let’s talk about the lamps you already own.
Don’t get rid of them and buy new ones unless you just really hate them or they are a very distinct style that you just can’t make work anymore.
Here I’m going to show you a super easy way to DIY a lamp upgrade.
Give your shade a makeover.
A lot of times, we end up with a plain white shade for a lamp. Why? This could be because it came as a set (lamp base and shade) or you purchased your lamp at a store that also sold shades and the variety consisted of mostly white shades just in different shapes and styles. There’s nothing particularly wrong with a white shade. It’s just a bit boring and if you had it for a long time, you are likely ready for a change.
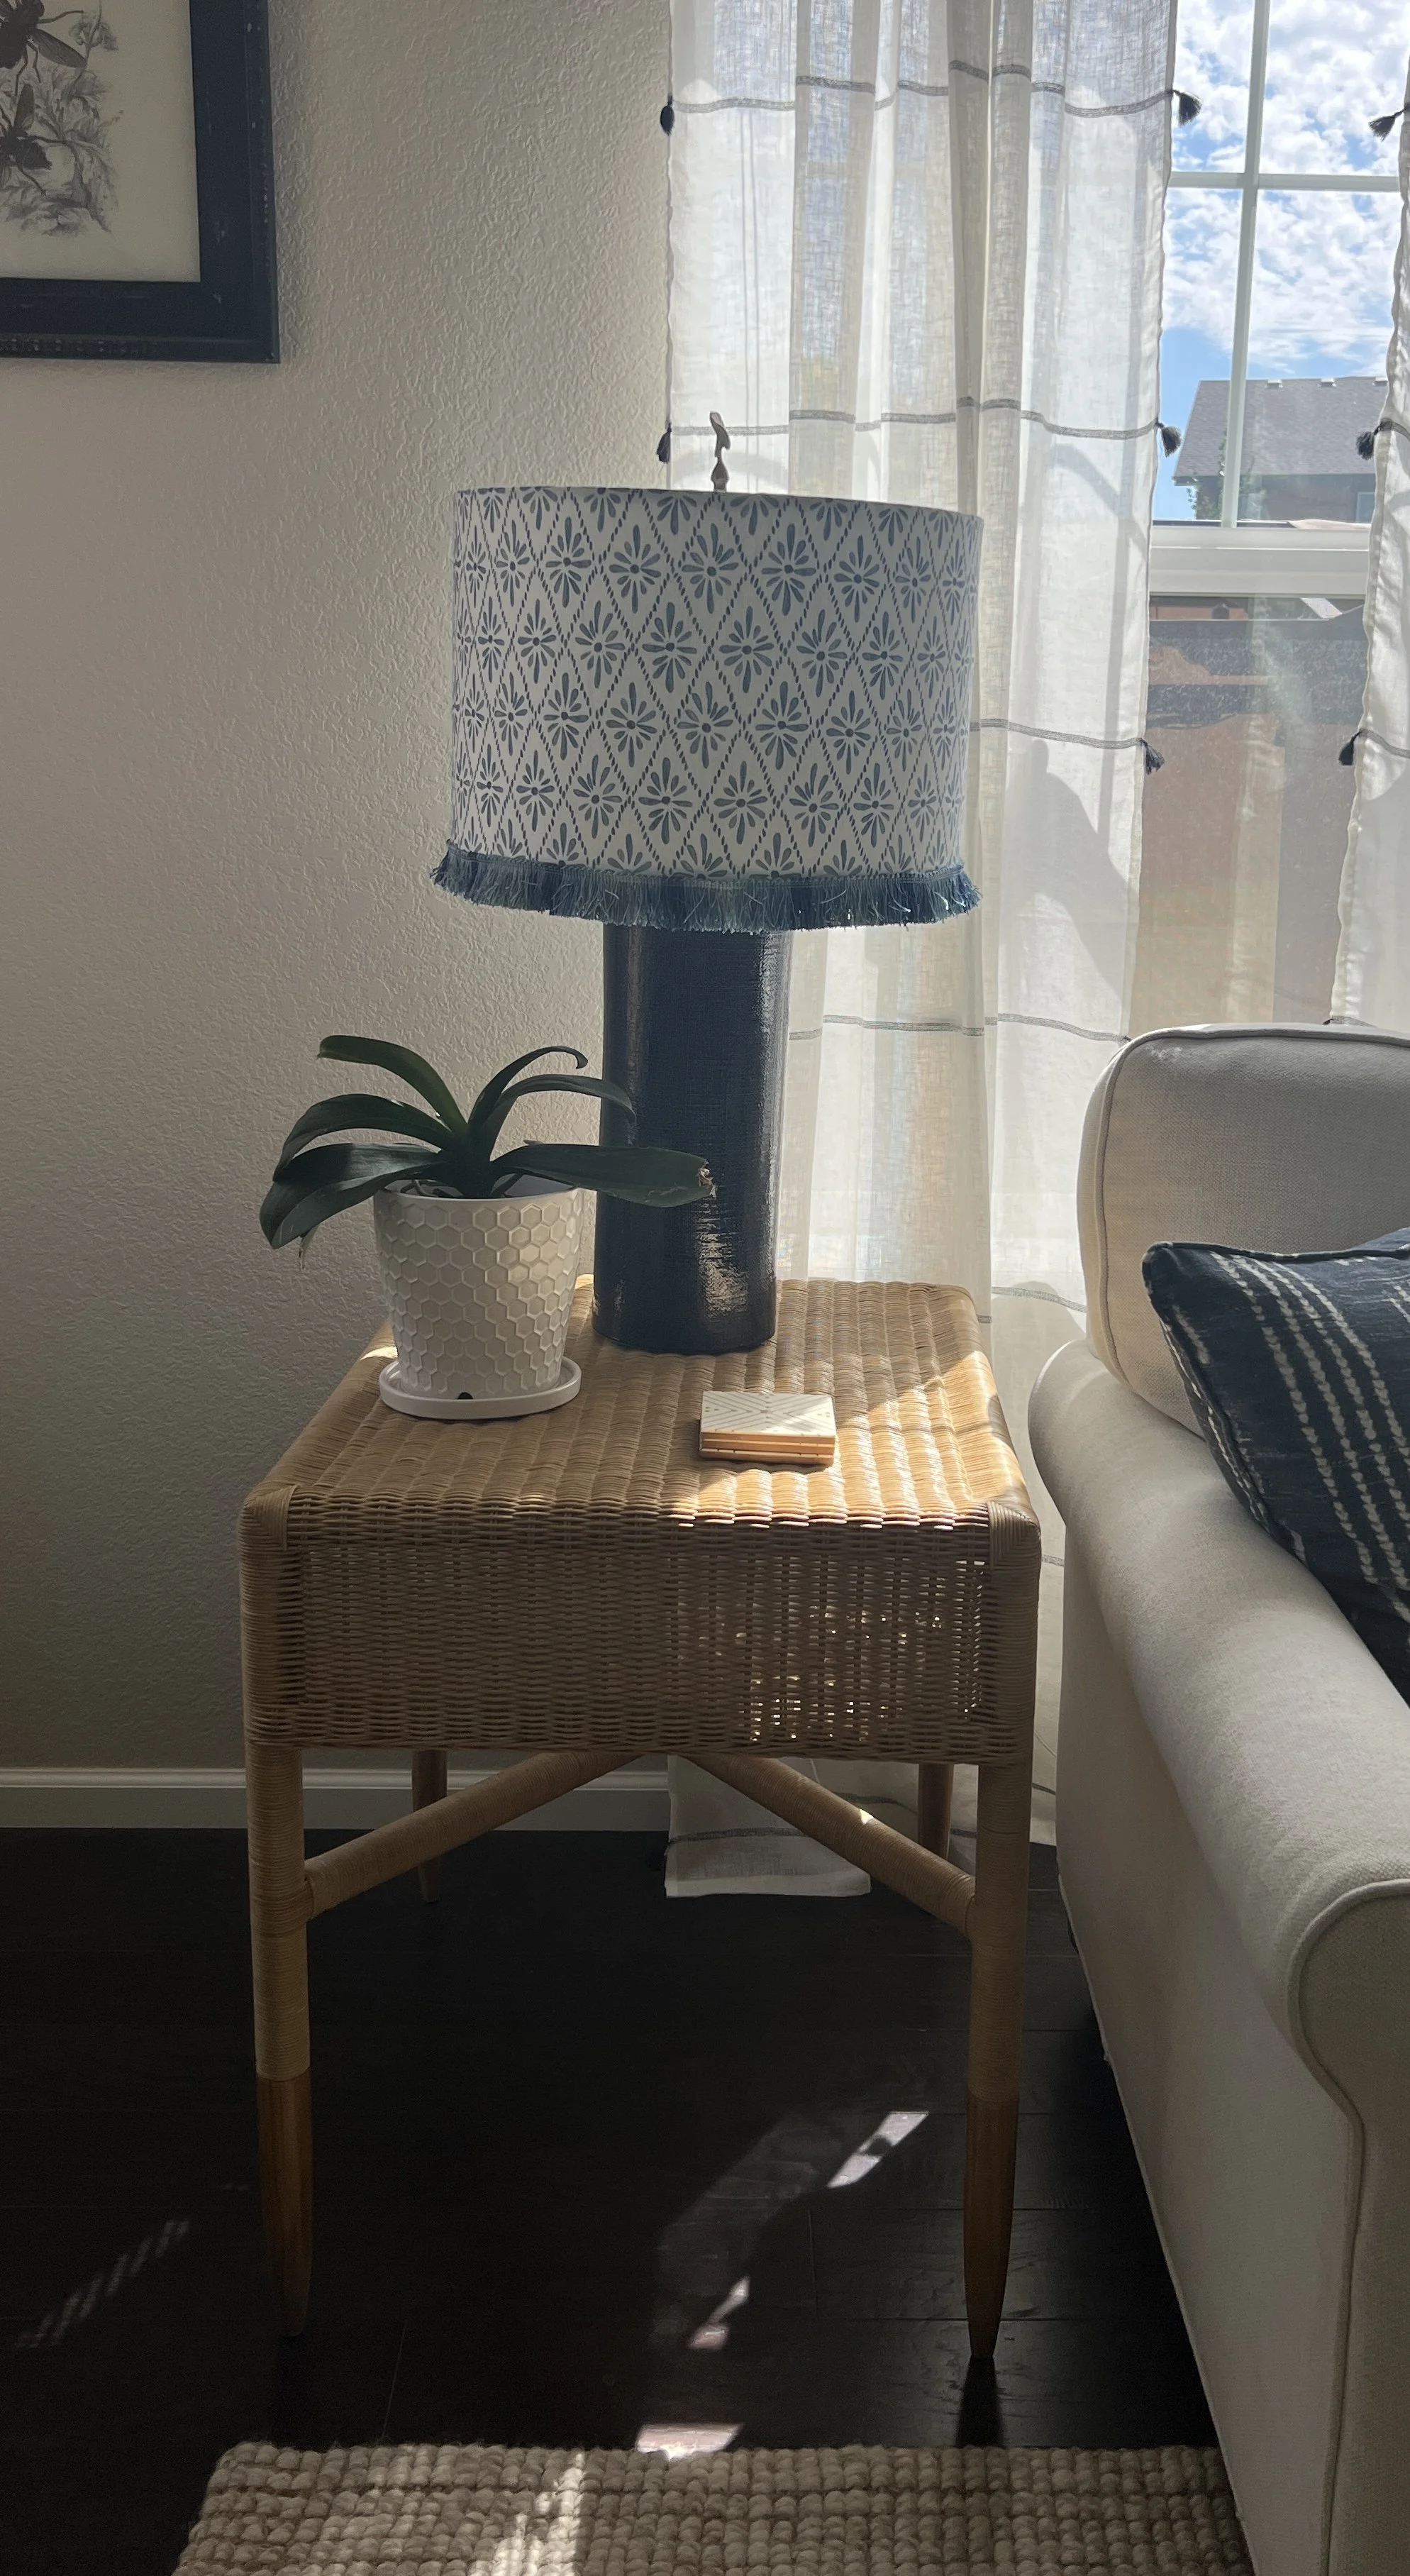
This lamp I purchased at Target probably 3 years ago. I bought it because it was blue and it was large. The drum shade I ended up getting free when I purchased another lamp online and the shade was delivered slightly damaged. You really couldn’t see the damage, however I still got the shade for free. Anywho…recently I just had the itch to do something different (literally happens everyday) so instead of purchasing a whole new lamp I decided to jazz up the one I already had. Here’s what I did.
Before
Boring white drum shade.
First I chose a patterned fabric to cover the entire shade. I had originally purchased this fabric for something else, but thought it would look nice with the blue lamp. Do not be afraid to mix colors though! Not sure if something matches? Join my Facebook group Fresh Traditional Home Decor and post a photo and get free advice!
2. I had one yard of fabric. This was a pretty large lampshade, so I was glad I had a full yard. I measured and cut the fabric leaving about an inch extra. I wrapped it tight around the shade and clipped it so it wouldn’t move. I used hot glue on the inside edges of the shade and glued all around top and bottom and then I folded the fabric at the seam and glue here too.
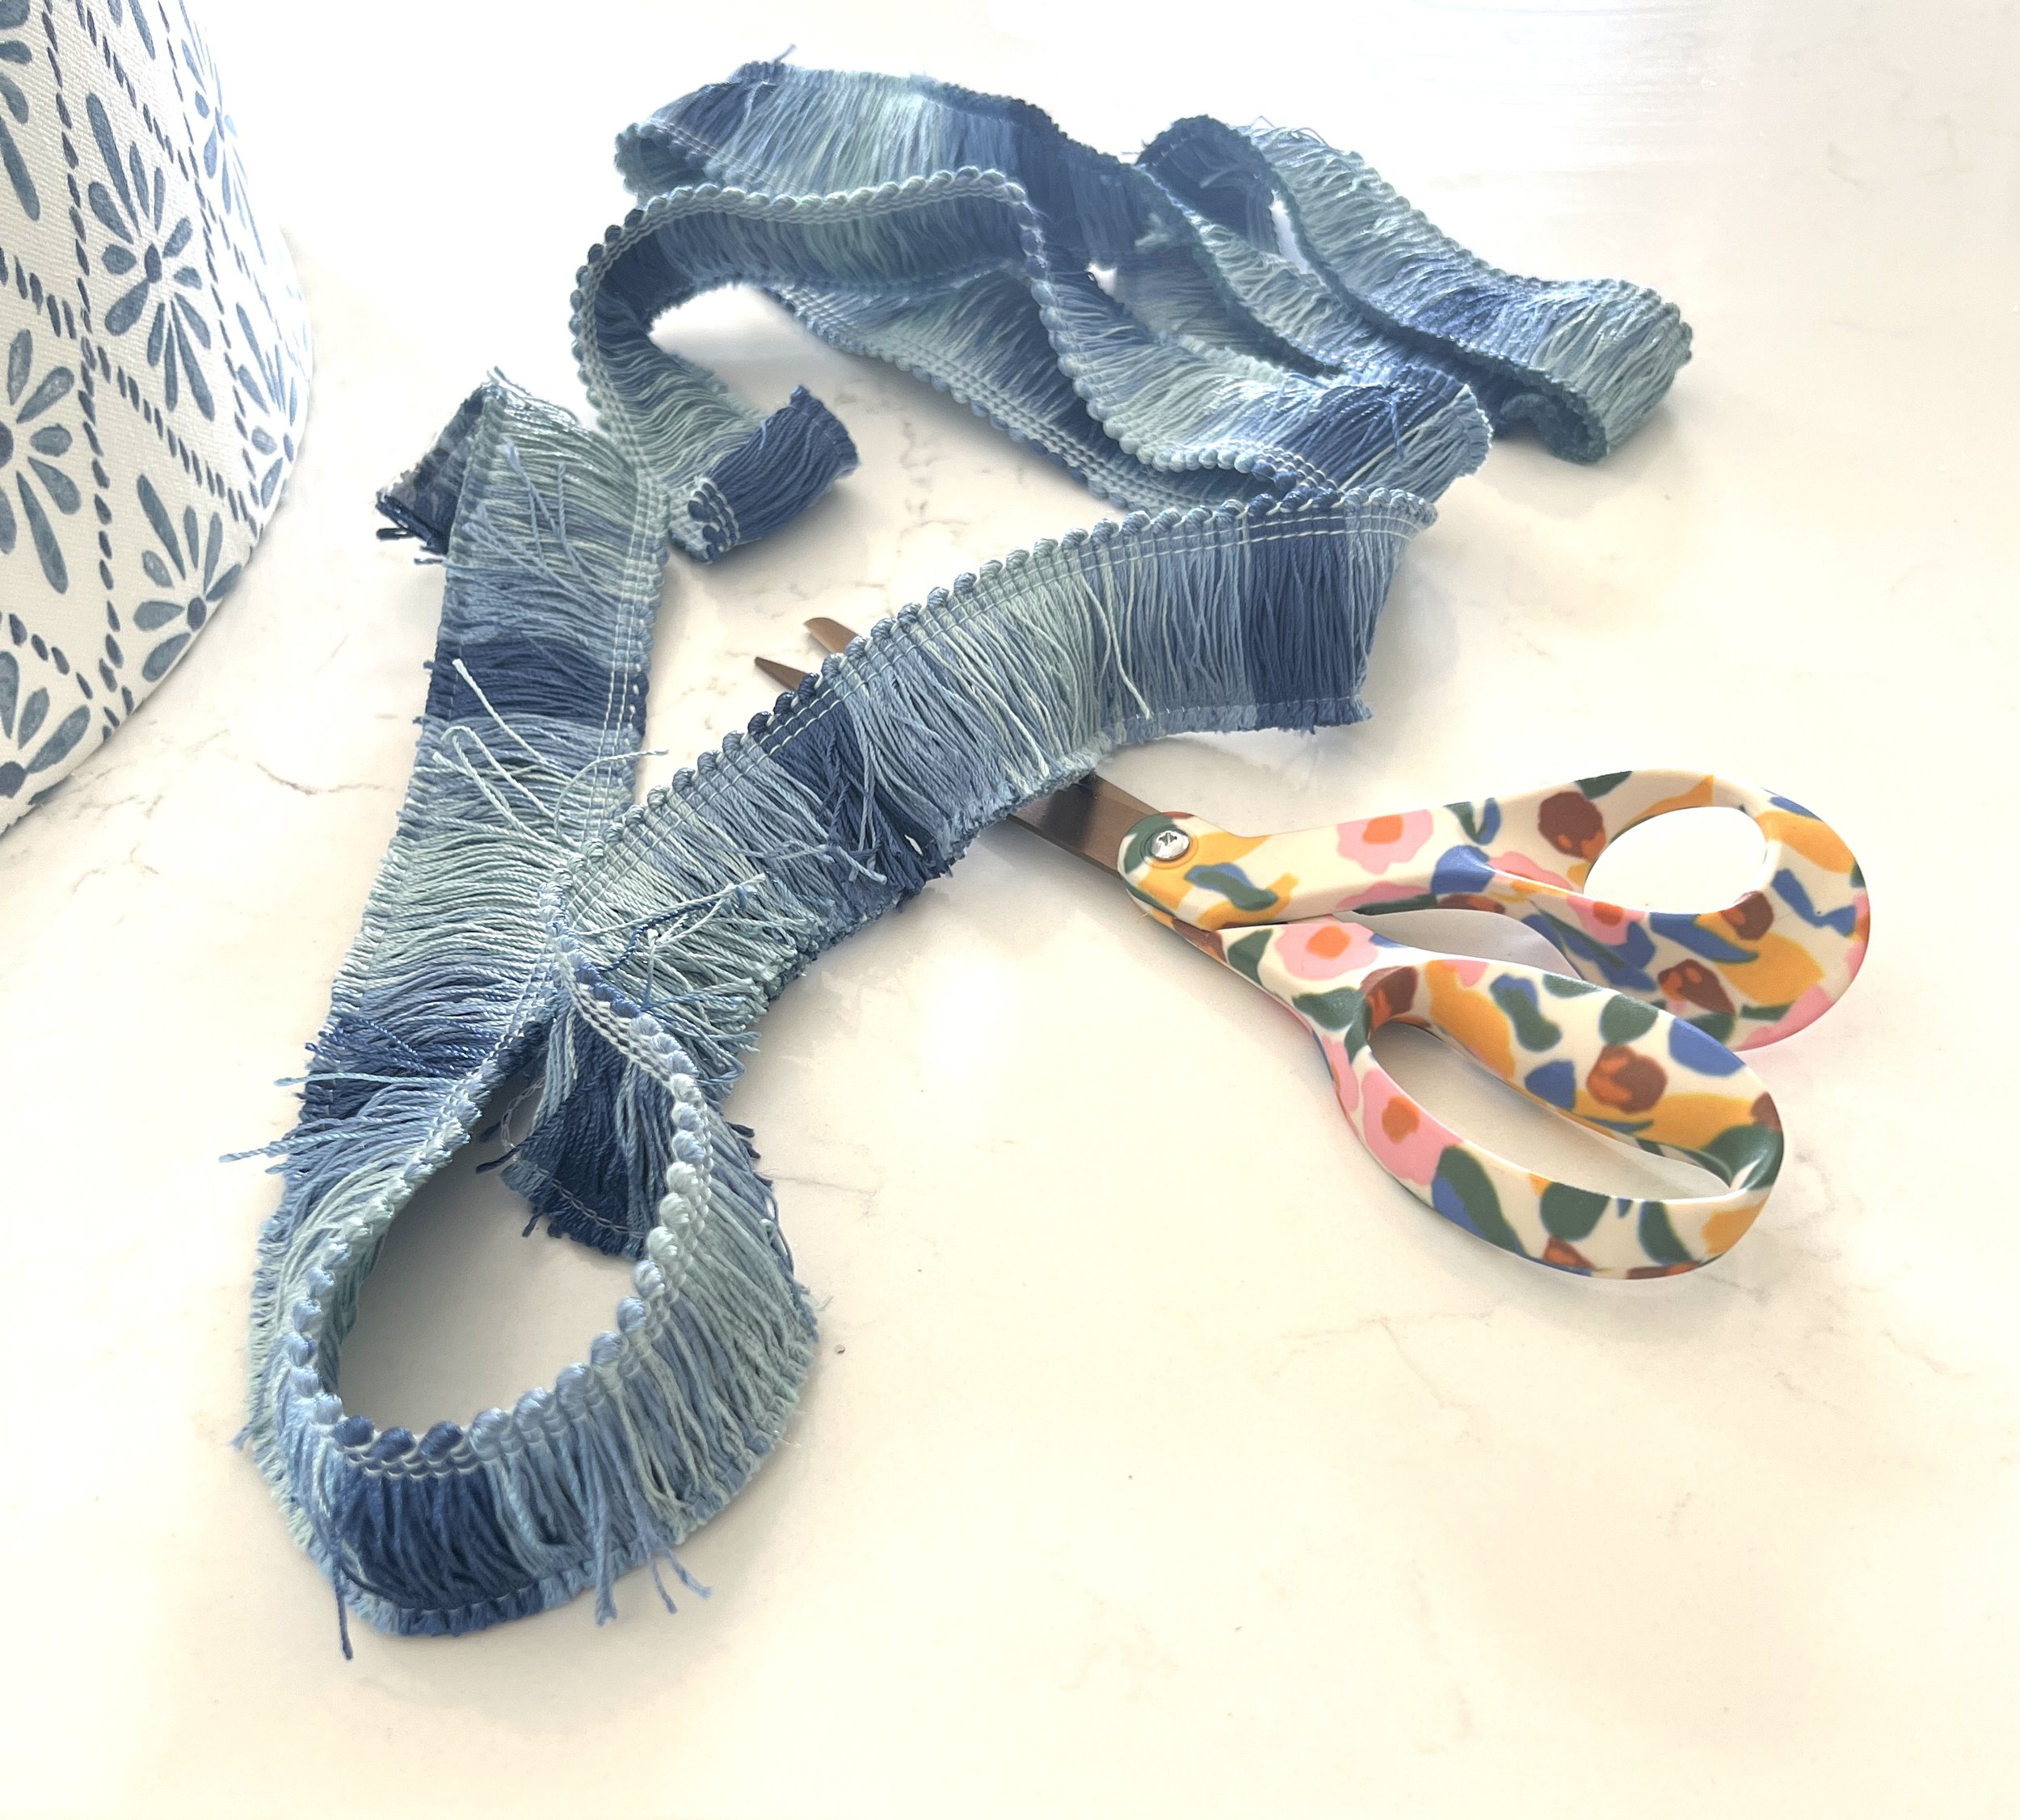
3. Next I chose a fun detailed trim. I originally wanted to add in another color like green and I wasn’t originally planning on fringe either, but when I saw this at JoAnn fabric I just thought I’d try it. It was 50% off, so ended up being $10 for 2 yards.
4. Then, I glued the trim as close to the bottom edge as I could.
5. There was a piece of thread holding the fringe together at the bottom, so I cut that off and viola…a new lampshade!
6. And finally, I chose a fun gingko leaf finial to replace the boring tiny knob that was there before.


